
Polaroid SLR 680 vs SLR 690: The Ultimate Battle of Professional Instant SLRs
You’ll feel how these Polaroid instant cameras handle in your hand before you snap a photo. The SLR 680 and SLR 690 look similar, but design decisions affect comfort and speed in real life. Weight, balance, and grip become clear when you hold them side by side. The goal is to pick the camera that feels natural, not just retro-cool on a shelf.
Carrying either camera all day at a flea market or family gathering highlights how sturdy they feel. The SLR 680 leans rugged and classic, while the 690 adds refinements to reduce fatigue during long sessions. It’s about how your hands respond when you’re chasing a moment you want to capture.
If you want a camera that feels like an extension of your arm, this comparison helps you decide. Your choice should reflect how you shoot, how long you shoot, and where you shoot most often.
Body shape and weight
The SLR 680 presents a solid, boxy silhouette with a confident grip. Its heft feels reassuring for quick shots, and balance shifts a bit with heavier flashes or extra lenses, yet the camera remains sturdy.
The SLR 690 offers a sleeker profile without sacrificing the chunky, reliable grip. It’s lighter in the hand, which translates to less fatigue on longer shoots. Cradling the camera close to your chest remains easy, keeping your subject in frame as you adjust settings.
Choose based on your shooting style: if you value a robust, built-in weight that steadies shots, the 680 is your pick. If you want a lighter feel without losing durability, the 690 fits well.
Controls and viewfinder
Both cameras use classic controls in familiar spots, helping you adapt quickly if you’ve used Polaroids before. The 680’s dial and button layout favors a traditional shooting flow, with a practical, straightforward viewfinder for confident framing.
The 690 refines the control set to feel modern without losing instant-film charm. Expect smoother dials and a viewfinder that aligns precisely with the lens, aiding composition as you adjust exposure or flash. Practically, that means fewer missed shots and quicker captures when moments happen fast.
If you’re juggling lighting or moving subjects, the 690’s tweaks can shave seconds off setup time. The slight precision boost in the viewfinder is handy for finding the perfect angle.
Which fits your hand
Larger hands will appreciate the SLR 680’s broader grip for comfortable, extended shooting, easier film changes, and smoother mode-switching.
For a more compact feel, the SLR 690 fits your hand with less slip. Lighter weight and refined contours reduce fatigue and support quick, on-the-go shooting.
Test both to know which fits your grip and reach. Personal comfort directly translates to confident, consistent shooting.
Lenses and optics Polaroid SLR 680 vs SLR 690
The two Polaroid SLRs differ in how their lenses and optics shape your photos. Light entering the lens, edge sharpness, and color pop vary. The SLR 690 often offers more versatility under varied lighting, while the 680 delivers dependable performance for casual shoots. Think about your usual settings—indoor gigs, outdoor strolls, or quick street sessions—and how optics influence whites and shadow detail.
When you pick up either camera, judge the view through the lens by how quickly you see the frame and how tactile the focus feels. The 680 provides reliable balance for casual shoots; the 690 tends to reward with smoother exposure transitions in tricky light. How the glass handles micro-contrast affects texture—think denim grain or vinyl gloss. Choose based on whether you prefer consistent skin tones or punchier highlights.
In short, optics matter for your Polaroid results. If you want dependable performance with a soft, approachable look, the 680 is a solid partner. If you want more control over exposure and a touch more sharpness, the 690 has advantages you’ll feel in practical shooting. Either way, you’ll create instant, tangible photos you can share right away.
Fixed lens specs
The SLR 680’s fixed lens is friendly and forgiving, making focus in low light easier and keeping a simple balance between color warmth and contrast. Predictable results come with no-fuss shooting—point, shoot, and enjoy the instant feedback.
The SLR 690’s fixed lens offers a touch more clarity and contrast. It remains user-friendly but yields crisper edges when cropping small subjects. Portraits gain detail in eyes and hair, while landscapes maintain clean foreground/background separation. If you shoot in variable light, the 690’s lens helps stabilize exposure across the frame.
Close focus and detail
Close focus on the 680 yields a warm, softer look ideal for character shots. Textures soften a bit near the subject, flattering skin and clothing and preserving that nostalgic instant vibe.
The 690 handles close-ups with more precision, delivering tighter edges and more defined textures. This can feel more modern while still honoring the instant format. For tiny details like jewelry or fabric textures, the 690 maintains sharpness.
Which lens suits your shoots
If you want an easy, go-anywhere vibe, the 680’s fixed lens is your reliable friend for street scenes, quick portraits, and moments you want to shoot and move. For gigs or family gatherings, the softer close-ups of the 680 can be flattering.
If you crave sharper detail and more control over close subjects, the 690 is the better pick. It shines in studio-like setups, fashion looks, or nature snaps where crisp textures matter. Your choice should mirror your typical days behind the camera: simple and warm, or precise with stronger lines.
Exposure and metering differences
Exposure and metering differences show up when comparing classic Polaroid styles to modern instant cameras. Lighting guides how your photo turns out, and small choices tilt results toward bright and breezy or rich and moody. This section covers how light metering works on instant cameras and how to control exposure for your ideal Polaroid look.
- The meter reads the scene’s light and suggests a setting. Dark subjects push you toward brighter exposure; bright scenes push you darker. This back-and-forth helps you get consistent results across scenes.
- The goal is balance: too bright washes out colors; too dark loses detail. With practice, you’ll read scenes quickly and choose intuitive exposure.
Light meter type
Most Polaroid-style instant cameras use a built-in meter that averages the scene or focuses on a central area. Common indicators include a simple guide or a moving needle to show whether to open or close exposure. Some models offer sunny/bright, cloudy, or indoor presets, with a few allowing manual control for finer tuning.
- AVERAGE metering treats the frame as one light value—simple for even lighting.
- CENTER-WEIGHTED metering emphasizes the subject in the middle, helpful against bright backgrounds.
- SPOT metering looks at a tiny area—useful for very bright or dark subjects, but framing matters.
Exposure control options
Your camera may provide several ways to tweak exposure without changing film. Options include exposure compensation, limited manual exposure, or a mode dial with presets for bright, normal, and dim lighting. Quick exposure locks can help in tricky scenes.
- EXPOSURE COMPENSATION pushes the result darker or brighter by a stop or two.
- MANUAL CONTROL nudges settings while using the meter’s readout for guidance.
- AUTO/METER-ASSIST lets the camera choose, with a quick override available.
How to set exposure for your scene
Scan the lighting first. If the subject sits against a bright window, slightly reduce exposure to avoid overexposure. For sunset scenes, push exposure a touch brighter to bring out colors without washing them out. Treat exposure like a small dial you adjust by eye to maintain the scene’s mood.
- Use a neutral frame and learn how your meter responds to daylight faces, shade, and indoor lighting.
Flash systems and SLR 690 features
You’ll want to know how your Polaroid SLR 690 handles flash and what makes it tick. This section covers built-in flash behavior, external flash sync, and tips to optimize lighting for each shot. The core idea is simple: a reliable flash helps your photos pop, especially in playful, instant moments.
The SLR 690 is designed for quick, snappy results with classic Polaroid vibes. The built-in flash is convenient for indoor or dim scenes but isn’t a studio light. You’ll get better results by knowing when to rely on it and when to bring in an external flash. Think of the camera as a pocket lighter for moments you don’t want to overthink, and an external flash as the bigger flame for low light or dramatic catchlights.
Built-in flash behavior
The built-in flash fires automatically in low light, keeping scenes bright for a clear picture. It’s compact and easy, ideal for casual snaps in small spaces. Hold the camera steady and keep your subject within range to avoid harsh shadows or washed-out faces. The built-in flash isn’t a studio tool; it’s a quick helper for everyday moments.
Sync and external flash use
Syncing with an external flash expands control over exposure and color. Set the external unit to your preferred power and use it off-camera when possible, letting the camera trigger it at the right moment. This yields crisper images with richer colors in indoor or dim settings where the internal flash would be too bright.
- Position the external flash at a slight angle to avoid flat lighting and create natural shadows.
- Start with modest power and adjust based on the subject’s look.
Best flash tips
- Start with distance: move the subject farther away than you expect, then adjust.
- Use bounce: aim at a wall or ceiling to soften light.
- Keep the lens clean and steady; shake can blur quick instant shots.
- Check exposure on test shots to dial in your setup.
Image look and film handling for Polaroid SLR 680
The image look with the SLR 680 depends on how you handle film and camera. Expect creamy whites, soft greens, and gentle shadows typical of traditional instant film. Load fresh film packs correctly, keep the film flat as it develops, and avoid extreme temperatures to prevent color shifts.
Your handling routine matters. Grip the camera firmly, keep the panel clean, and let film slide through without forcing it. Allow the print to settle before handling. Temperature changes can shift the look, so keep a warm pack handy in cold sessions or a cool spot in heat. Consistency matters—the more you shoot, the more you’ll learn which dial settings you prefer.
- Load film correctly
- Let development settle
- Control temperature for color stability
Film size and pack type
The SLR 680 uses standard instant film packs. A fresh pack goes in back and you shoot away. Each frame’s edge offers a crisp frame line to help with composition. Pack type affects how flat the film stays inside the camera during exposure; shield packs from wind to maintain consistent quality.
Consider how often you shoot and how quickly you want results. A larger pack reduces reloads; a smaller pack keeps the process snappy for casual days. Edge color and contrast shift slightly with different packs—test a few to see which suits your style. For a vintage look, try packs with warmer or cooler tones to tune color warmth.
Color tone and contrast traits
Color tone sits between vivid and nostalgic. Warm skin tones with soft, slightly desaturated landscapes are common, with moderate contrast that preserves detail in shadows. The result feels timeless, not clinical, with a subtle punch that makes colors feel alive without being cartoonish.
Lighting shapes mood: sunlit scenes boost warmth; shade adds depth in shadows. For punchier looks, push exposure slightly or shoot in brighter environments. For softer vibes, diffuse light and a relaxed shutter approach will yield gentle color transitions and a flattering glow.
- Warm, nostalgic tones
- Moderate contrast with shadow detail
- Lighting shifts mood
Choosing film for your style
Film choice should match the mood you want. For classic, warm portraits with soft edges, pick packs that emphasize warm skin tones and gentle contrast. For a bold, vintage street look, choose packs with more pronounced color shifts and a bit more grain. Your style emerges as you compare prints side by side.
- Consider warmth, contrast, and grain
- Test multiple packs to find your signature look
- Track performance in varied lighting
Performance speed: SLR 680 vs 690 differences
In practice, the SLR 680 feels a touch snappier with shutter timing after you press the button. The 690 can lag slightly, especially as batteries age or in cold weather. Plan one more click ahead to accommodate timing differences, but both deliver the classic Polaroid look.
For rapid-fire moments, the 680’s rhythm suits street photos or lively family scenes. The 690 remains reliable once you learn its cadence, requiring steady hands and preparedness. Think of two drum tempos: one faster, one slower, both capable of solid instant results.
Battery life and motor wear show up over longer sessions. The 680’s motor is efficient for everyday shooting, provided you manage flash usage. The 690’s motor is built for steady performance but consumes a bit more power with heavy shooting. Keep fresh batteries and use reliable film batches for consistent results.
- Pro move: carry a spare battery and track shots left.
Shot-to-shot timing
The 680 returns to standby slightly faster, aiding sequences. The 690 keeps a steady pace, suitable for portraits, still life, or controlled street moments. Anticipate the pause after each click to land the next pose cleanly.
Motor and battery life
The 680 offers dependable all-day shooting with careful flash use. The 690 holds charge well over long sessions if you limit flash bursts. Both benefit from fresh batteries and trusted film batches.
- Carry a spare battery
- Keep track of shots left
Keeping your camera ready
Maintain readiness with routine cleaning: lens, film compartment, and battery contacts. Load film and power up a few minutes before shooting to speed up on-site readiness.
- Spare batteries and film packs are essential
Accessories and compatibility for professionals
You want a smooth Polaroid workflow across shoots. Check compatibility with your camera model when adding accessories. For bright sun or dim studios, consider filters and hooding that block glare without dulling color. The goal is to protect image quality while keeping your setup quick.
On-location vs. studio: a sturdy tripod and case matter. Mounts should fit your camera’s threading and lens setup. Compatibility isn’t just fit—it’s how you move between shots and transport gear between locations. Durable, easy-to-use accessories help you stay ready.
Polaroid cameras bring vintage vibes to modern work, but guard against clutter. Prioritize durability, ease of use, and protection from dust, wind, and light leaks. A clean workflow translates to crisper photos and fewer wasted film packs. You’ll notice the difference when racing the clock.
Filters, hoods, and add-ons
- Filters alter mood and color balance: neutral density for bright daylight, warming/cooling filters for skin tones, and polarizers for reflections.
- Hoods protect the lens and reduce flare; remote triggers and light meters speed up workflow.
- Choose add-ons you’ll actually use; keep gear compact and unobtrusive.
Tripods, cases, and mounts
A sturdy tripod stabilizes shots during film changes or waiting for light. Look for adjustable legs and a reliable head. Cases protect camera and film during travel. Padded pouches, quick-access dividers, and compatible mounts save time and prevent accidents.
What accessories you need
- Compact polarizer
- Protective hood
- Lightweight remote trigger
These essentials cover most professional moments, keeping the instant magic without glare or shake.
Market value: Vintage Polaroid SLR comparison
Market value shifts with supply, condition, and collector interest. Rarer finishes, limited runs, and working optics push values higher. A well-kept unit with a clean chassis and documented service history retains value better than cosmetic wear. Compare recent sales and dealer listings to gauge realistic pricing. When shopping, price based on condition and included accessories, not just the body.
For pricing, consider colorway rarity, with pristine finishes selling faster. A documented service history, a clean shutter, and a solid grip raise confidence and value. A complete package—case, flash, and original box—helps you price higher and recoup investment if you resell.
In short, vintage Polaroid SLR market value blends rarity, condition, and extras. Track recent sales, inspect mechanicals, and value complete sets. Your goal is a camera that photographs well, not just one that sits on a shelf.
Resale prices and rarity
Resale depends on rarity and condition. A scarce finish or limited edition can boost value, especially if the camera is working with clean electronics. A well-documented unit with original packaging and reliable shutter action commands a premium. Testing shutter performance, checking lenses for scratches, and confirming seals are intact all influence resale.
Rarity drives demand. Finishes, original cases, or limited production runs command higher prices. Start by cataloging your gear: model, year, finish, and condition. This inventory helps you price accurately and sell faster.
Common restoration needs
Typical restoration targets seals, light leaks, and shutter reliability. Replace aging gaskets to prevent fogging. Inspect shutters for timing drift and pursue CLA if needed. Lens elements may have minor fungus or wear; serious issues should be handled by a pro.
Electrical contacts can corrode and cause misfires. Clean contacts and ensure solid battery connections restore function. If metering or exposure systems drift, professional calibration may be needed. Restoration costs vary, but weigh them against potential resale or daily usability.
Casings and knobs wear too. Tighten screws and refresh leatherette if cracked. A well-restored body with seals and clean optics feels like a new camera.
How to buy with confidence
Research before you buy. Verify condition via clear photos (exterior wear, lens, seals, viewfinder) and request a video showing shutter, meter, and flash in action. A trusted seller with clear return policies provides peace of mind. Ensure working status includes shutter timing accuracy and meter reliability. Compare three listings to gauge fair pricing and avoid overpaying for cosmetic fixes.
Check for originality: confirm serial numbers, model names, and markings to avoid mismatched shells. Look for a complete package—case, original box, user manual, and documented service history. If a price seems high for condition, ask for a recent service receipt or test footage. Decide on a budget that includes potential restoration costs. This is the Polaroid SLR 680 vs SLR 690: The Ultimate Battle of Professional Instant SLRs in action.
Professional instant SLR comparison: Which is best for you
You want clarity when choosing a professional instant SLR. This section focuses on real differences that affect work, cost, and what you gain or lose. Think of it as choosing a reliable partner for the job—reliability, ease, and results you can trust.
Some cameras feel rugged and fast; others feel refined but slower. Your decision hinges on your work: studio portraits, on-location fashion, or event coverage. This comparison highlights practical strengths rather than sprawling specs.
Use cases and pros for each model
- First model: reliability and fast setup. Ideal for studio portraits with consistent exposure and quick turnaround. Fewer surprises, repeatable results, and a workflow that keeps you moving.
- Second model: built for on-location work. Tougher, often weather-sealed, and handles natural light gracefully. Flexibility to chase daylight with crisp, punchy images and broader dynamic range outdoors.
- Third model: balanced cost and performance. Strong image quality without the premium price, suitable for editorial or documentary projects. A versatile workhorse that doesn’t force compromises on results.
Budget versus feature tradeoffs
Budget options trade speed and robustness for lower upfront cost. Expect slower boot times, simpler controls, and fewer refinements. You gain value for multiple shoots or rental gear. If you’re testing the space or handling lighter workloads, a budget pick is solid value.
More expensive options offer faster operation, better exposure control, and tougher construction, at a higher price and with more complex menus. For pros with tight deadlines or who rely on precise color and instant feedback, these features translate to time saved and fewer on-set hassles.
Mid-range options strike a balance: solid performance, decent durability, and a sensible price. They suit mixed gigs and growing needs.
Final pick for your work
If you want a solid all-around choice that respects your budget, a mid-range option is the smart move. It balances speed, durability, and control without locking you into a single workflow. This pick tends to stay useful across a variety of shoots, from portraits to on-location work.
No fluff—this is the core difference you need to know when choosing between Polaroid SLR 680 and SLR 690 for professional instant photography. Polaroid SLR 680 vs SLR 690: The Ultimate Battle of Professional Instant SLRs.
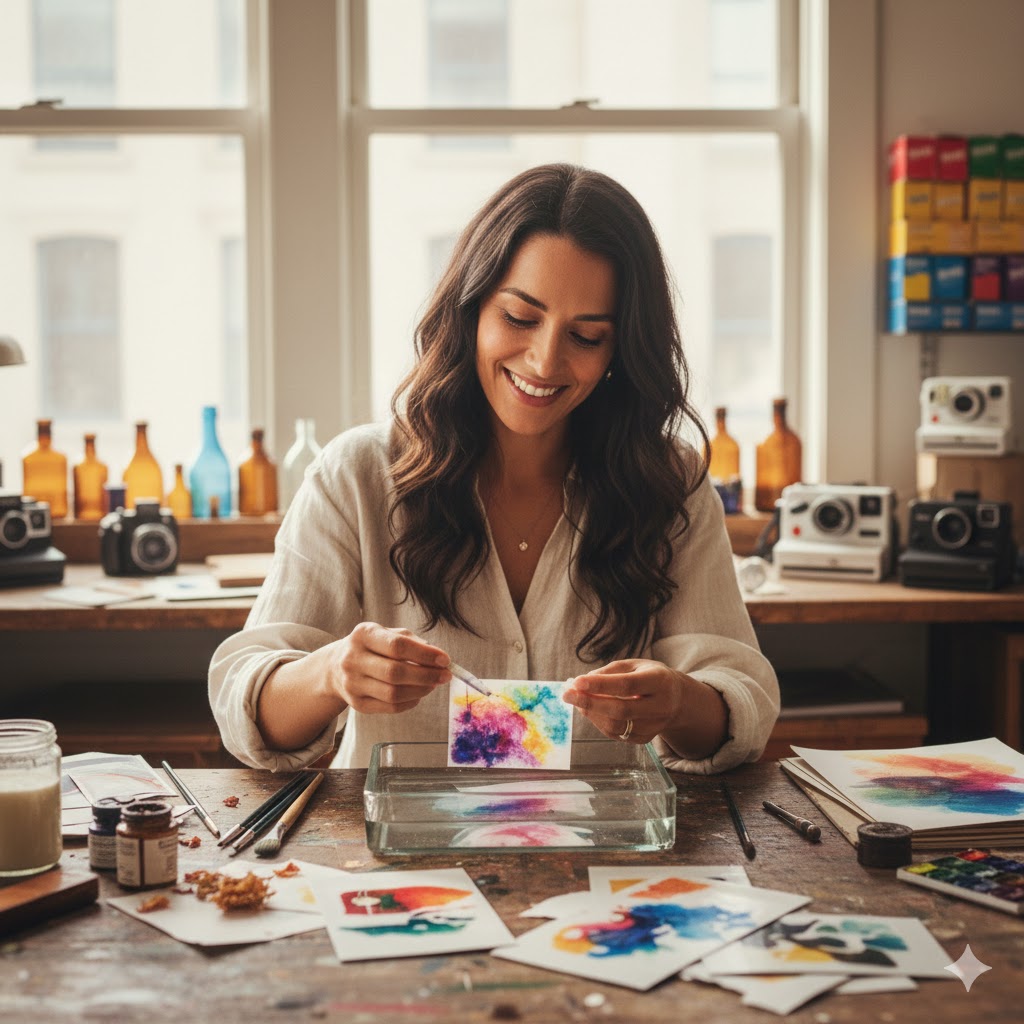
Elena is a fine-art photographer and visual storyteller who treats every Polaroid frame as a unique piece of physical art. Specializing in experimental techniques like emulsion lifts and double exposures, she explores the intersection of light, chemistry, and emotion. Elena believes that the beauty of instant film lies in its ‘perfect imperfections’ and empowers the Nexos Digitais community to push the creative boundaries of their cameras.